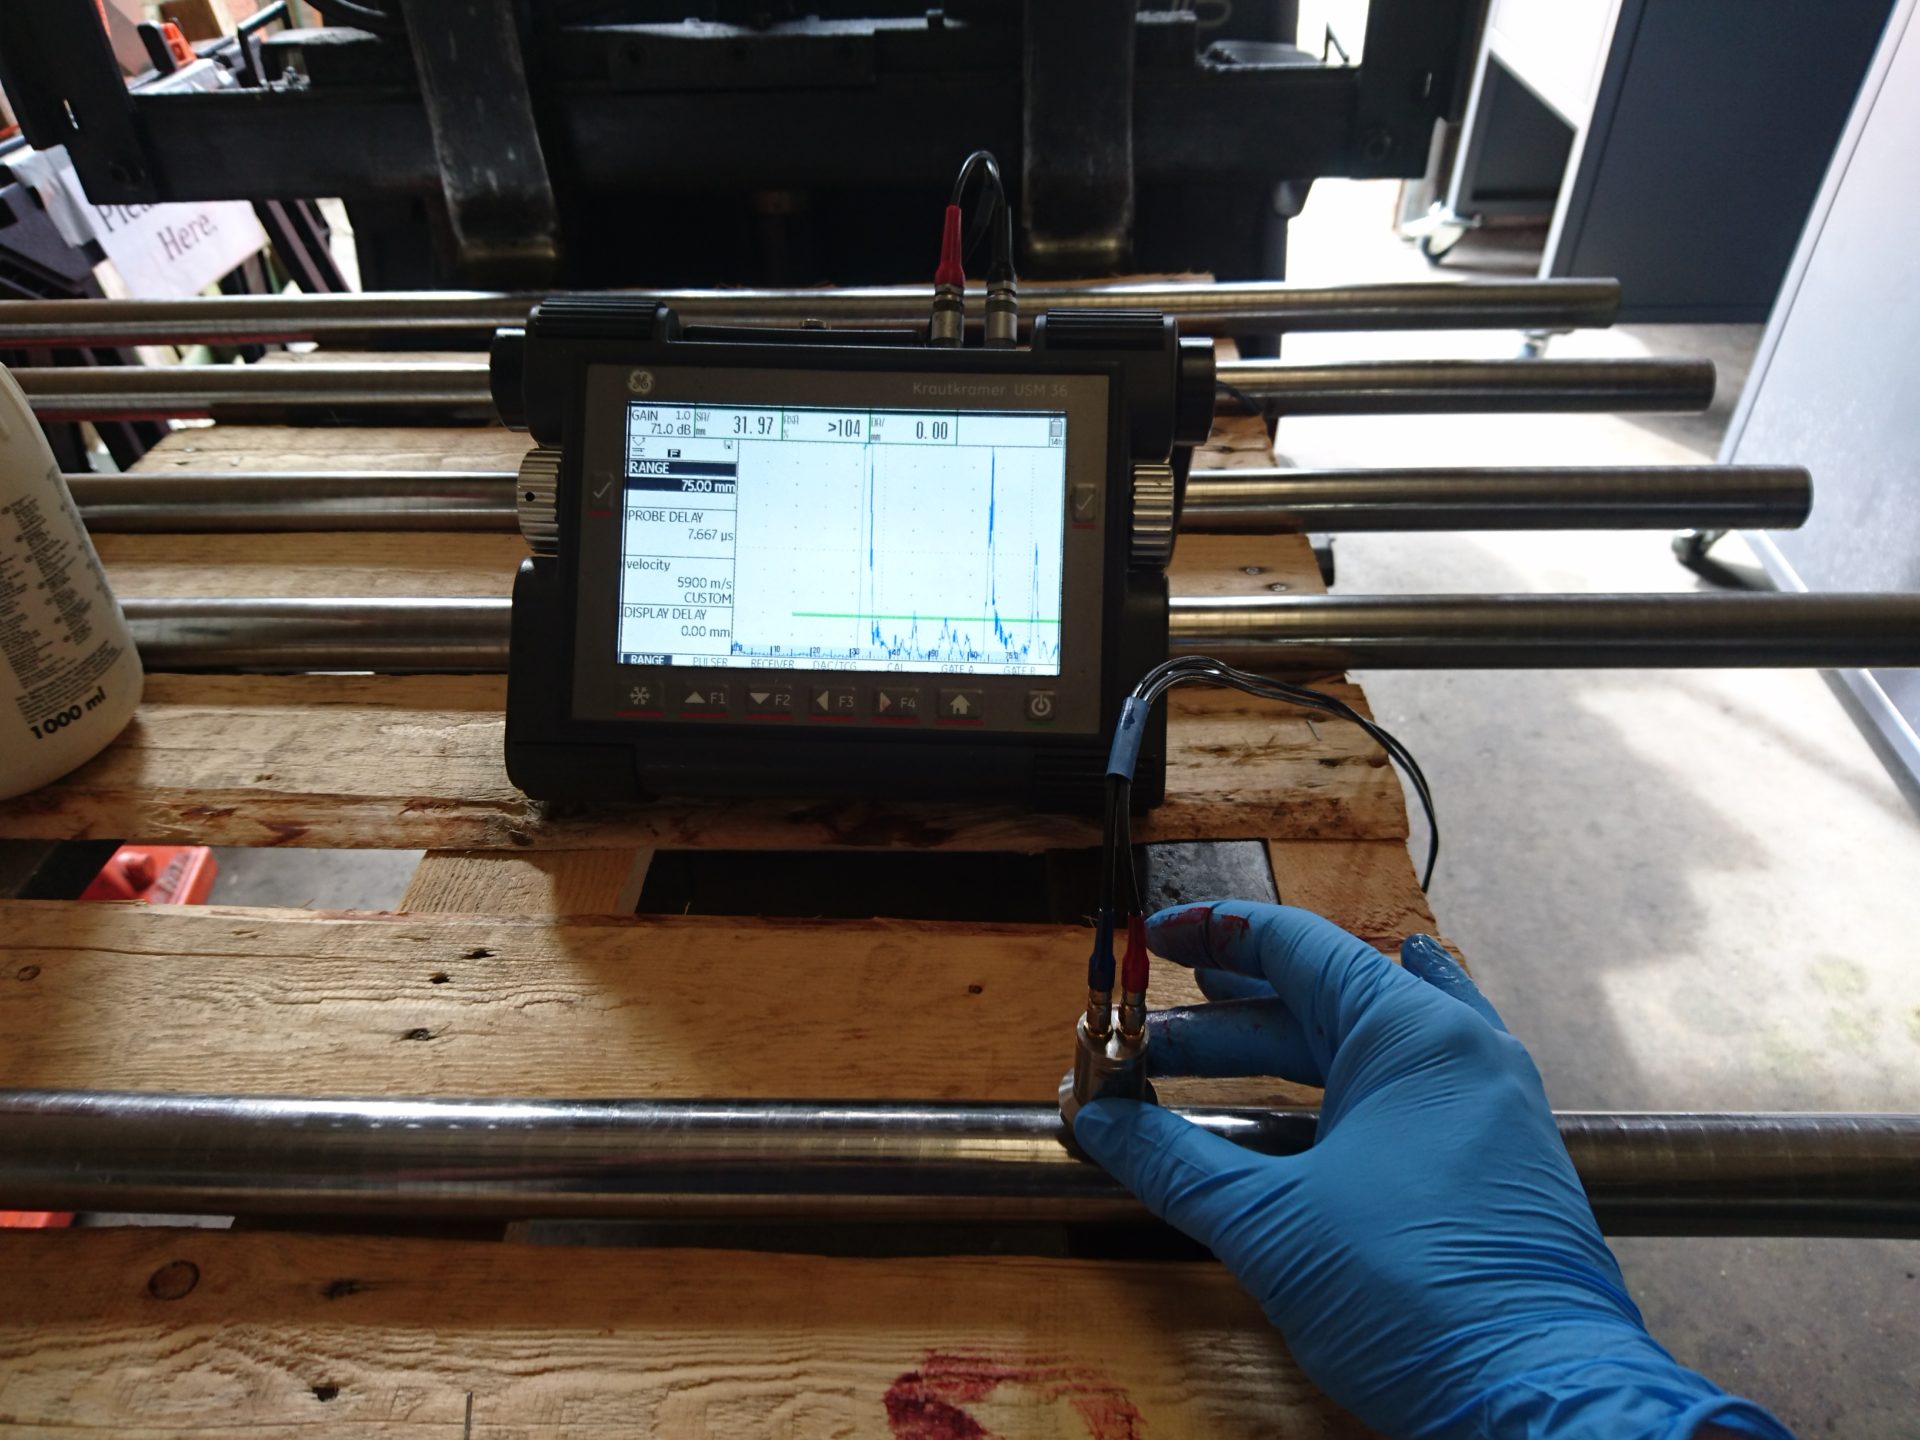
Metal Bar Stock Testing
Reference calibration blocks to ASTM E127 standard are required to prove that ultrasonic testing with the current set can effectively pickup faults (as per AMS-STD 2154 & ASTM 2375). Our investment into a full set of calibration blocks to ASTM E127 in multiple metals means we are able to test steel, aluminium, copper bar stock and much more.
ASTM E127 is the highest standard for calibration blocks. When you choose to partner with Capital NDT for bar stock testing, you can be assured that you are receiving the highest quality testing and reporting. We are a one stop shop that can manage high-capacity orders with a quick and efficient turnaround.
The Benefits of Choosing Capital NDT for Bar Stock Testing:
- One stop shop for all bar stock testing needs
- High capacity
- Efficient turnaround
- The highest standards – AMS-STD 2154 / ASTM E2375 / ASTM E127
- Test steel, copper, aluminium and many more
How can we help you?
Contact us today to find out how Capital NDT can help you with our wide range of non-destructive testing services.

AMS-STD 2154, ASTM E2375 & ASTM E127
AMS stands for Aeronautical Material Specification. AMS-STD 2154 was developed from MIL-STD 2154 a US Department of Defence military standard. It provides a uniform method for the ultrasonic inspection of wrought metals and wrought metal products.
ASTM E2375 is an equivalent standard for the calibration process using a reference block. E127 refers to the standard level of precision in the predrilled faults within the calibration blocks themselves.
The Importance of Calibration
Bar stock must be produced in accordance with AMS-STD 2154 or ASTM E2375 and it is a requirement that ASTM E127 standard calibration blocks are used. The bar stock will eventually be made into a component, the structural integrity of which cannot be confirmed unless it has been tested prior. The component is only as good as the quality of the bar stock and thus it becomes key to test this with properly calibrated kit. Nothing can be structurally or mechanically verified until the material is properly tested with calibrated kit. Any and all engineering calculations can be invalidated by a fault in the bar stock used.
What is the Process?
Bar stock must be tested for faults using an ultrasonic testing set. In order to prove the validity of the data received from the ultrasonic kit we must perform a calibration test. This involves scanning the calibration block with the set in order to find premade faults in the block. These are drilled to different depths to the ASTM E127 standard and upon scanning – should the set find the fault – we can prove that the ultrasonic set can be used to test to the same depths in your bar stock.
Not all bar stock is made from the same material and neither are the calibration blocks! Due to the structure of different metals, ultrasonic waves react differently within different metals. It is therefore key to hold multiple sets of calibration blocks in different metals, the most common being steel, aluminium and copper. Once the ultrasonic set finds the premade fault in the specific calibration block, testing can be undertaken as normal.
Why Choose Capital NDT?
With a full range of calibration blocks in multiple metals, you only need to make one call. We can handle any request large or small, turned around efficiently and to the highest standards.
Our team of NDT technicians are all qualified with industry recognised PCN (Personnel Certification in Non-Destructive Testing) in accordance with BS EN ISO 9712. Our testing facility is also accredited by a number of well-known bodies, including ADIPS and UKAS.
For More Information On Our NDT Inspection Services
or by filling out our contact form:

